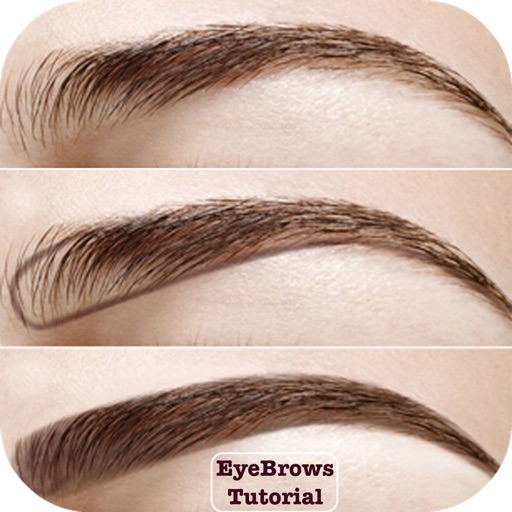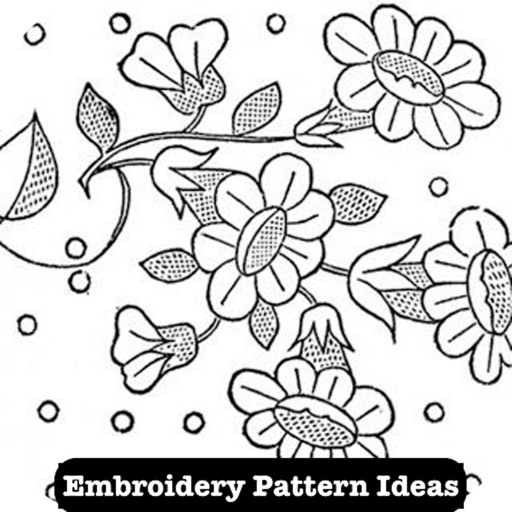


App Description
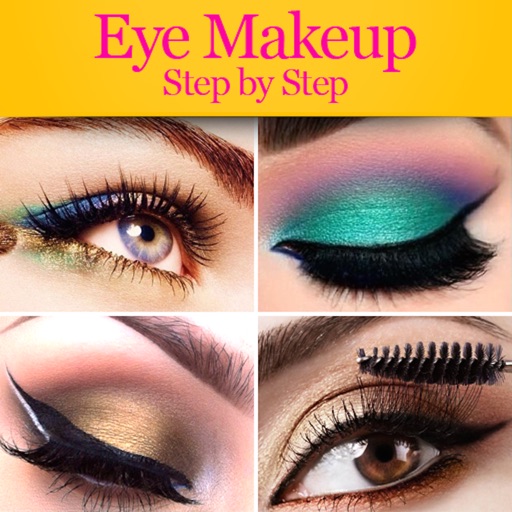
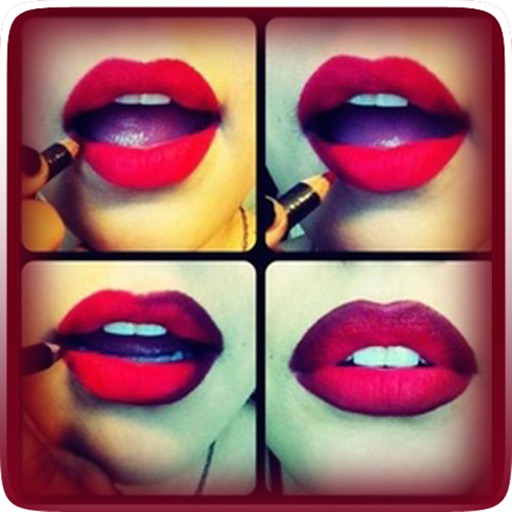
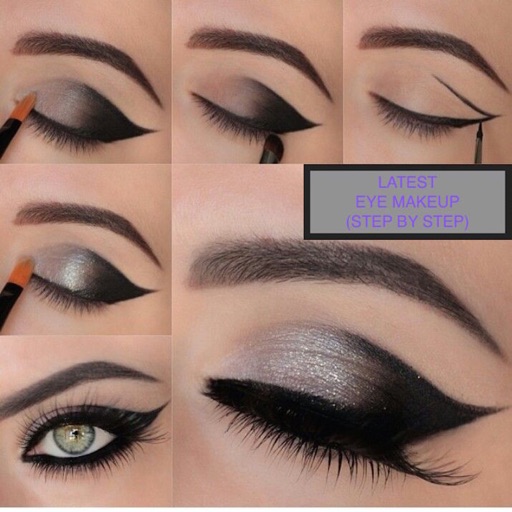
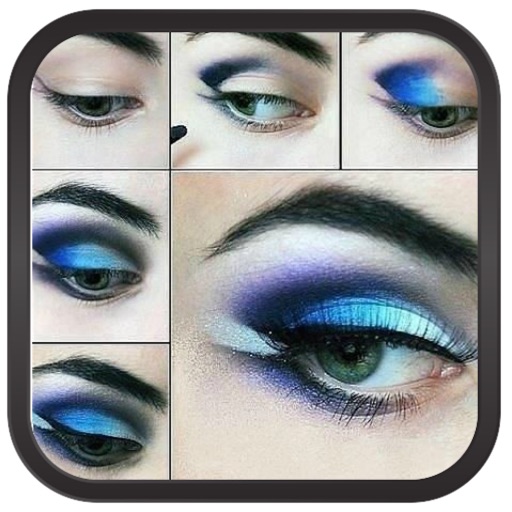
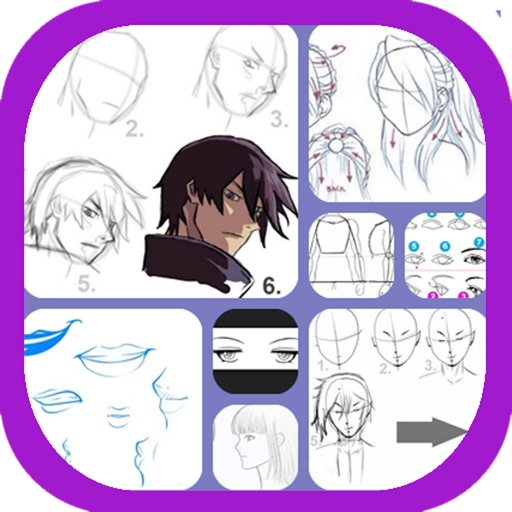
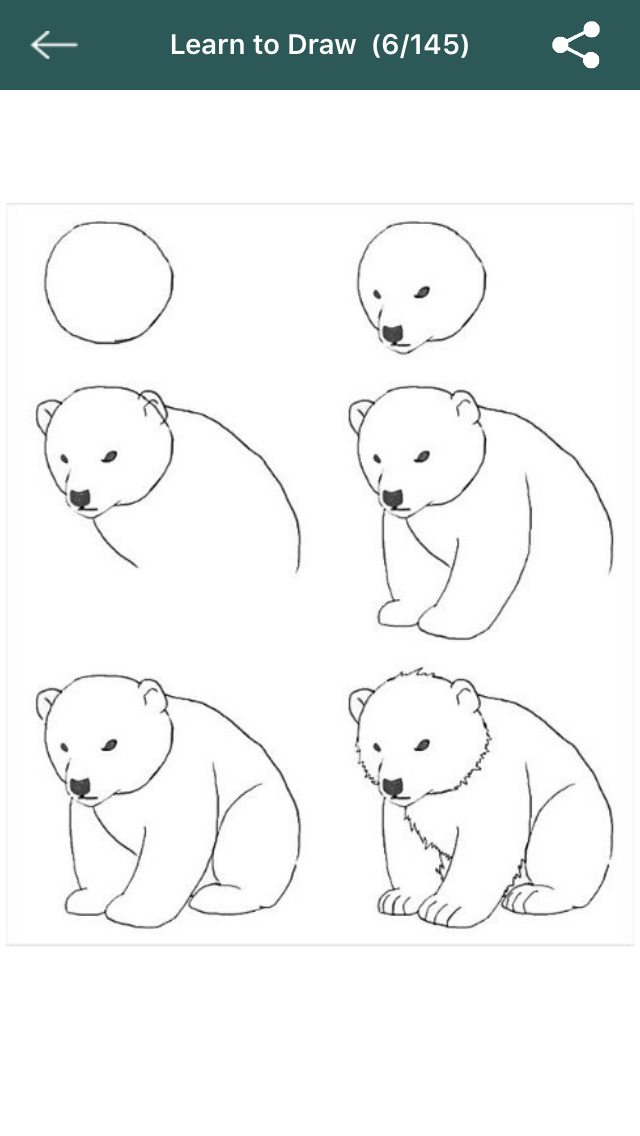
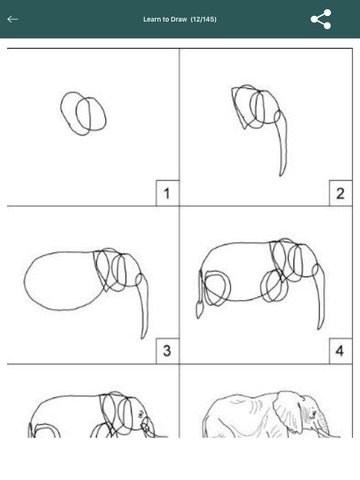
Learning how to draw step by step is a good way of practicing form and getting yourself well acquainted with the basics of drawing. It doesn't matter whether you are doing professional art to design a building or cartoon drawings for a comic strip - there will always be a simple step by step format that you can follow.
Even the most critically acclaimed artists follow a step by step process. This helps them keep track of their work and ensures that the end result perfectly reflects what was in their mind. There are a lot of ways of drawing and a lot of steps to try but here is the most basic step by step process that a lot of professionals and tutorials suggest.
Start with Shapes and Lines
Don't worry about the detail of the person's clothes or how their eyes will look. First you want a perspective of their shape, how they are posed, and the general outline of their body. To do this, use basic shapes like circles, rectangles, and triangles. A circle or an egg can represent a human face and then their body can be done with a rectangle. Focus on their size, the way the limbs are positioned, and the general shape of your drawing.
When doing the basic outline, make sure you are using faint lines. A hard pencil like an will be perfect. The lines drawn by these pencils are faint and easy to erase.
Pencil in the Details - Adding Volume
You've got the skeleton of your picture done now it's time to add in volume. Take your and start going over the outlines to add in the details of your drawings. This is the stage where you add in the eyes, the curve of the lips, and the general outline of their clothes.
Keep it all simple. Don't focus yet on the shading, lighting, or any emphasis on the details. Don't worry about adding complex lines to their clothes or edges to their faces. Just add in the important stuff for now.
Adding Emphasis
For many this can be the third and final step. Use a good eraser like a rubber eraser or Blue Tac. Never rub your eraser on the paper to make changes. Doing so only takes off the upper layer of the paper and can ruin the quality of the page. Blue Tac is the best alternative - simply press down on the line you need to remove and it will literally catch the graphite off the paper. This avoids any damage on the paper you use.
Adding emphasis takes time. As you are erasing the guidelines and other lines you no longer need you will also be adding in extra details. This is the step where you add in shading and lines to give emphasis. All those fancy textures you find in professional drawings are done in this final step. However, if you want to add color or really bring your drawing to life, there is one more step.
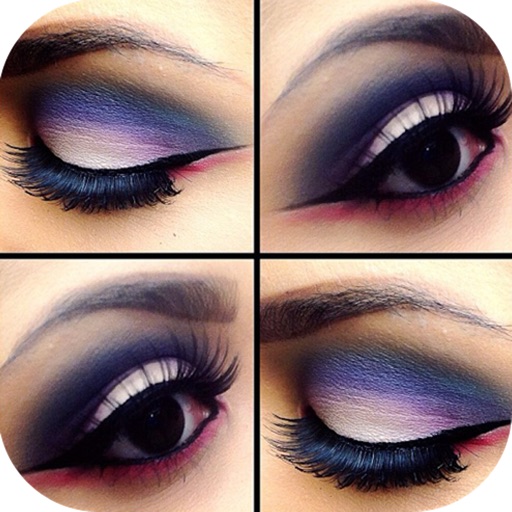
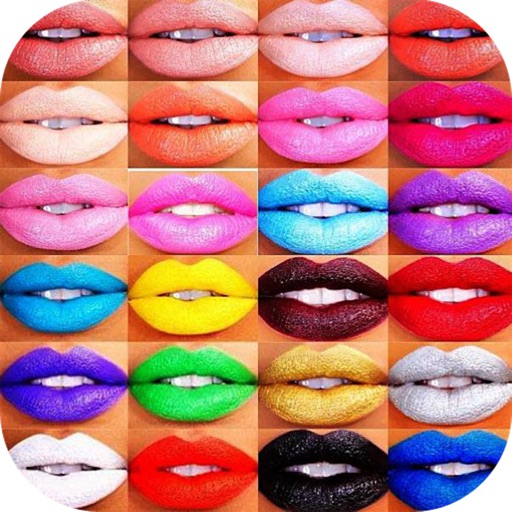
iPhone Screenshots
(click to enlarge)


iPad Screenshots
(click to enlarge)


App Changes
- August 01, 2016 Initial release
Other Apps From Muhammad Wahhab Mirxa