


What's New
Minor UI changes
App Description
The 3D glasses solution for the unique virtual buying experience!
Discover the huge diversity of our own reference projects and our customers’ projects. Start using ViSoft VR today to bring your own digital tile and sanitary showroom to reality! Let your customers discover multiple rooms, simply with visual navigation.
With ViSoft Premium 2016 you can generate a Virtual Reality-Panorama from any project with the ViSoft Live module. Select “ViSoft 360 – Generate panorama image” in the “View“, “Advanced“ menu. Mark the checkbox “Virtual Reality“ and select which rendering engine you would like to use. We recommend to use of Photo Tuning, of course you can use the ViSoft Premium real-time visualization also. Select the rendering quality and start rendering.
How to bring your own project to the VR glasses
1. Download the ViSoft VR app from Apples App Store. If the app is not displayed to you in the App Store, your iPhone is not ready for iOS 8.0, which is a minimum requirement to run the app. Therefore you need the iPhone 4S or higher.
2. Create your VR-panorama as described above. Connect your iPhone with your PC or Mac by cable and start iTunes.
3. Open your iPhone in iTunes and select the menu option „Apps“.
4. Scroll down to the “File Sharing“ section. Select ViSoft VR from the list.
5. Select the “Panoramas” folder in the list of ViSoft VR Documents and click the “Save to...” button. Select a folder where you want to store this folder on your PC or Mac.
6. Navigate to that folder with the Finder (explorer) and open the “Panoramas” folder. Add your own panorama to this folder.
8. By default, this folder contains a 3D-panorama called “default.vipr”. This project is the project first displayed after the program start. If you like, you can replace this project with a project of your own with the same name. One project in this folder has to be named „default.vipr“, otherwise only a grey background is displayed at program start.
9. Return to iTunes and click the „Add…“-button. Select the Panoramas folder and click „Add“
9. Restart ViSoft VR. Your panorama is now ready to discover!
10. The Panorama database of ViSoft VR is dynamically filled with projects from our ViSoft 360-cloud. If you want to avoid that, in order to show only your own projects, please switch your phone to flight mode.
You have questions about the VR-App?
If you have questions about the functionality of ViSoft VR or our future developments, do not hesitate to contact our hotline: 07031/4916599 or [email protected]
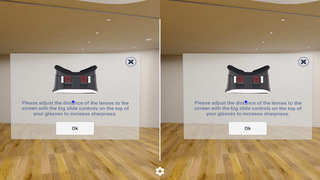
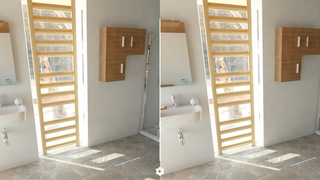
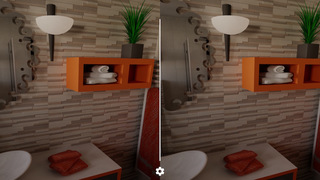
iPhone Screenshots
(click to enlarge)


iPad Screenshots
(click to enlarge)


App Changes
- June 15, 2016 Initial release
- July 22, 2016 New version 2.0
- November 22, 2016 New version 2.1
- June 13, 2019 New version 3.0.1
- August 16, 2019 New version 3.0.3
- January 26, 2021 New version 3.1
- September 16, 2023 New version 3.1.1
Other Apps From ViSoft Gmbh