

How To: Use Accessibility Options
What makes iOS great for users with disabilities is that there’s a selection of options to make using an iPhone, iPod touch, or iPad much easier. Many of these features are designed for the visually-impaired, the hard of hearing, or those with motor skills issues, to open up their devices to them in a way that most people take for granted. However, there are a few features here that even able users can take advantage of – custom vibration settings started out as an Accessibility option before becoming standard in iOS 6. Here’s a rundown of what the Accessibility features in iOS are.
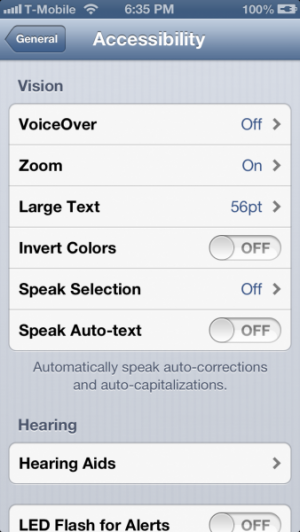
To find and configure ACcessibility options, open up Settings, tap on General, then scroll down to Accessibility. All the iOS Accessibility options are here.
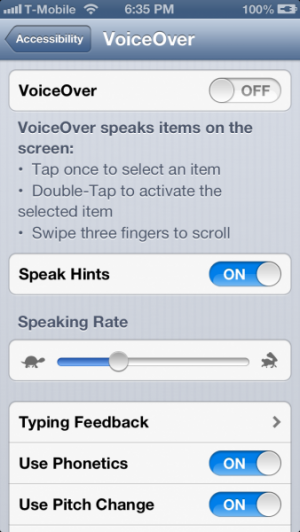
VoiceOver is primarily designed for visually-impaired users, as it makes it easier to select specific items, which the device will then speak what that feature is, and double-taps are used to then select the item, making it harder to accidentally tap on certain items. Various other settings for devices like Bluetooth-enabled Braille machines, and typing feedback, can be configured here.
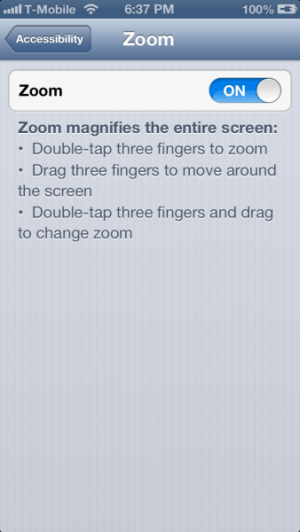
Zoom makes it possible to use 3-finger gestures to zoom in and out of the screen, making it easier for visually-impaired users to see certain items when necessary.
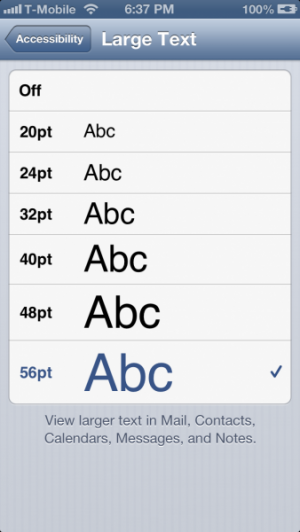
Large Text increases the font size in certain Apple apps.
Invert Colors will invert the device’s colors, which can help users with different vision issues.
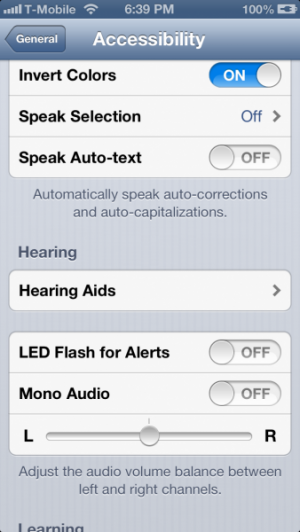
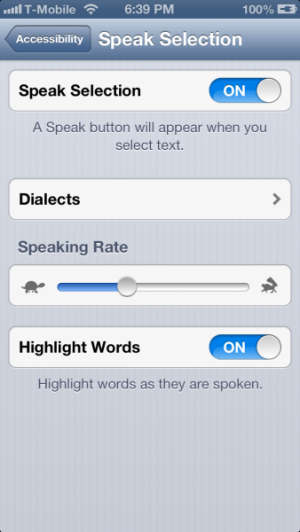
Speak Selection and Speak Auto-text make it possible to have text-to-speech enabled on selected text.
Hearing Aids is the settings section for Bluetooth hearing aids. Once connected, the options will be made available.
LED Flash for Alerts makes it possible for the LED flash on the iPhone to go off when new alerts come in. This can be handy for any user that wants a way to see that they have new notifications, even when they’re not looking at the screen.
Mono Audio sets the device’s audio to be only in monaural, making it possible for users who only hear out of one ear (or for users who use mono headsets) to hear both channels in one ear. The audio balance can also be set here.
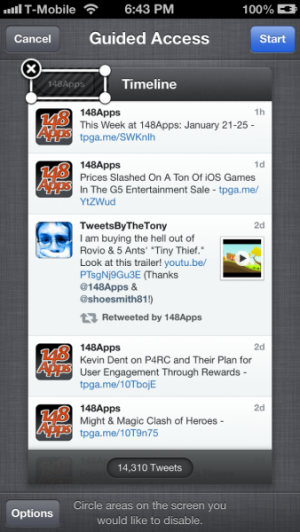
Guided Access makes it possible to restrict a device to one app, with certain screen sections able to be configured as untouchable. This makes it possible to use a device in a demo mode, or to let a child use an app without leaving it or changing any settings.
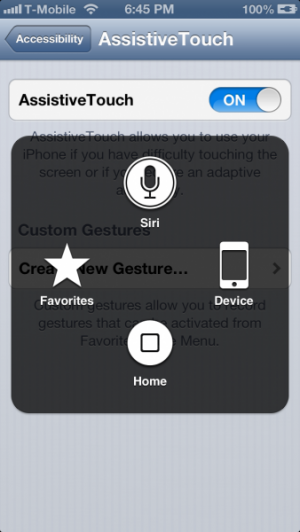
AssistiveTouch enables a gray button that can be dragged around the screen. This calls up several system functions, that make it possible to do things like multitouch gestures, take screenshots, and more. For users who have a broken home button, AssistiveTouch can make the device still usable.
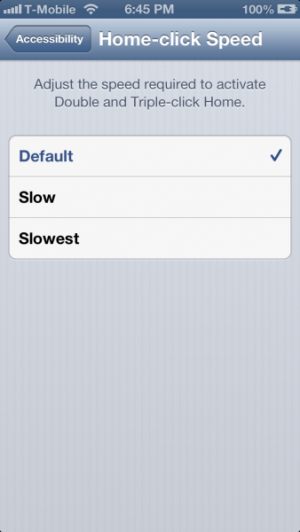
Home-click Speed makes it easier to double-click the home button, by not requiring it to be double-clicked so quickly.
Incoming Calls can force the audio from incoming calls to either go to a headset or to the speaker.
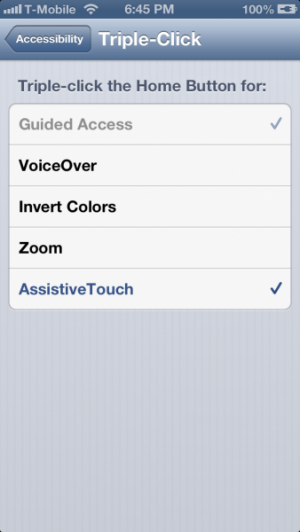
Triple-click Home allows for VoiceOver, Invert Colors, Zoom, and AssistiveTouch to be toggled by triple-clicking the Home button.
These settings and features are all designed to make it easier to use iOS devices. Have you found any that make using your device better, or have helped other people use their devices? Let us know in the comments below.