U.GG
U.GG  Icy Veins
  Arcade Cloud
  EV.IO
EV.IO  Luminosity
 Monster Hunter Freedom Unite - Tips, Tricks, Cheats, and Strategies for New Hunters
Suit up, grab your gear, and get ready to lay the smack down on to very large critters!
Monster Hunter Freedom Unite is a surprisingly intricate game - well, surprising if you’re unfamiliar with the series, anyway - and as such there’s no shame in getting a little help. Which is exactly why we’re here! We’ve put together a handy guide for hunters who are just starting out, full of all sorts of useful knowledge that will hopefully keep you all alive out there.
So suit up, grab your gear, and get ready to lay the smack down on to very large critters!
So You Want to be a Hunter?
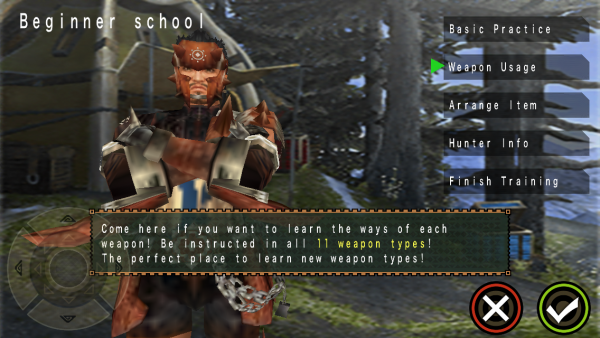
The first step to getting anywhere in Monster Hunter is figuring out what type of weapon (or weapons) will work for you. There are quite a lot to choose from - 11, in fact - and each one is different. The best way to try them all out is at the Training School.
- In order to access the Training School you’ll need to first speak to the village chief (the elderly woman by the fire). To find her, just head up/North from your home. Once that’s finished you can find the Training School on the opposite side of the Guild Hall. - Select the Beginner School, read through the basic Hunter Info, then you’ll be able to select Weapon Usage. - Weapon Usage will allow you to try out every single category of weapon in the game. You’ll be given a temporary set of equipment, and an item box full of handy items at the start. The weapons you use are decent, and the tasks are simple - just enough to give you a sense of how the weapon functions. - The distinctions between each of the 11 weapon classes are too numerous to go into in a beginner’s guide, but an important thing to remember is that there are two main groups: Melee and Ranged. Both groups utilize completely different types of armor, so make sure to keep that in mind when crafting new gear.
Back to Basics
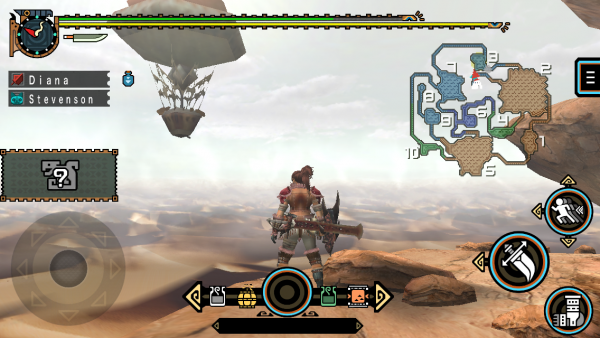
When it comes time to go on quests, you'll have three options to start with: the village chief, the Offline Guild Hall, and the Online Guild Hall. If you’re new to Monster Hunter, or maybe a little rusty, the village chief is the best place to start. Her quests are kind of a slow burn but they’re also a lot less dangerous - even the big hunts. If you’re familiar with Monster Hunter, or if you simply don’t mind being thrown into the thick of things, then either Guild Hall is your best bet. Guild Hall quests involve much tougher monsters than the village chief quests however, so be careful.
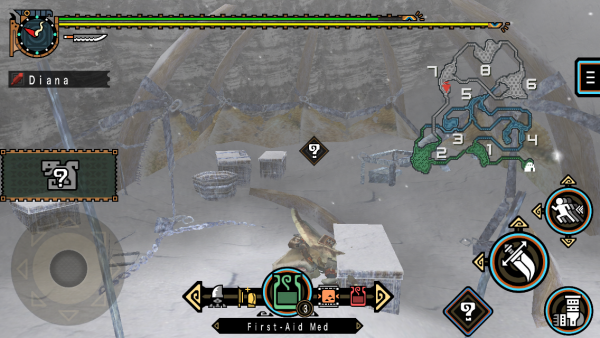
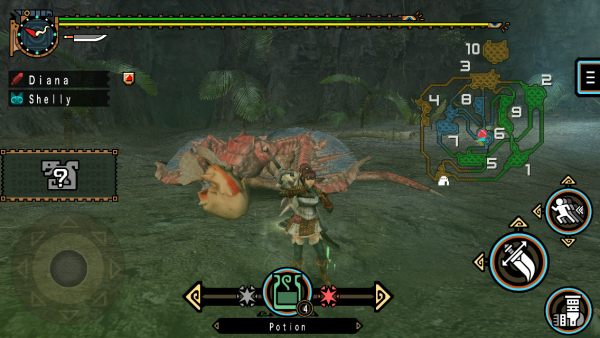
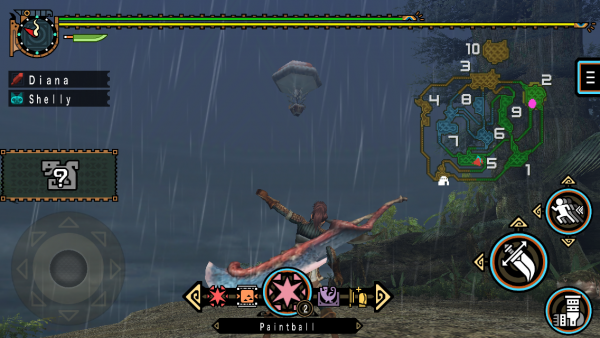
- Your stamina is very important. It’s represented by a yellow bar underneath your health and it determines how long you can run, how many times you can dodge without a break, how long you can charge a bow, and more. Your maximum stamina will drop over time, and will drop even faster if you’re in a cold area without a hot drink or certain sets of armor, so be sure to keep an eye on it. You can increase your maximum stamina temporarily by eating Rations and Well Done Steak. - At the beginning of all but the most grueling quests, you’ll be able to snag supply items from a nearby blue storage box. If you’re playing solo, grab everything you think you’ll need. If you’re playing with a group, please be courteous and leave some for the rest of your team. - If you’re hunting big game (i.e. not the fodder creatures like various forms of “-prey” or Bullfangos or whatever), make sure to grab/bring paintballs. If you manage to peg your target with one you’ll be able to see where it runs off to as it flies/runs/leaps from zone to zone. - When hunting in the Snowy Mountains area, keep an eye out for the abandoned camp to the south of zone 7. It’s a good place to stock up on items like rations and paintballs if you’re running low. - Pay attention to whether or not a hunt will occur during the daytime or nighttime. Some environments will change based on the time of day, and even reveal (or block off) some zones. For example, during the day the Desert is incredibly hot but at night it’s freezing.
- As much as you’ll want to go out and HUNT ALL THE THINGS, you should also consider going on open-ended gathering quests (usually the first two or three in a given list). If you bring along pickaxes and bug nets you’ll be able to scrounge up a fair amount of materials that will be very important to crafting and upgrading weapons and armor later on. - Remember that you can combine items you find in the field to make new items. An herb and a blue mushroom make a basic health potion, for example. - You should also try to familiarize yourself with each environment’s gathering points for materials. Not only will it make mining runs or bug catching excursions move along faster, but it might just save your hide. - If you go the melee route, make sure you have whetstones on hand at all times. Your weapon will start to dull and the worse it gets, the more often your attacks will bounce off your target and leave you vulnerable. - When using items in the middle of a fight, be very careful with the timing. You don’t want to stop to heal only to have a Khezu bellyflop on your head. - The Pokke Farm (located across the way from your home) is a very helpful timesaver in the beginning. You can use it after you return from a quest to harvest materials you’d otherwise have to track down in the field, such as ores and bugs. - Also remember to upgrade the Pokke Farm when you can. The improvements will make gathering important materials between quests even easier.
Tricks of the Trade
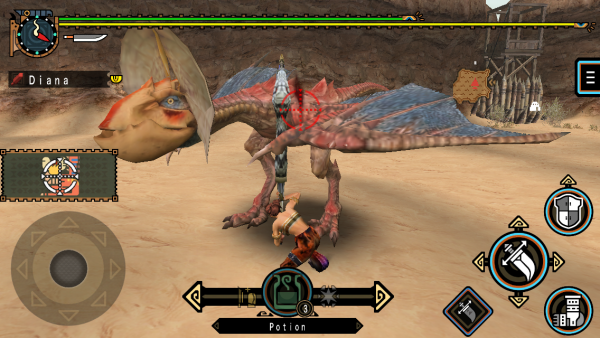
- Don’t rush in when hunting a new monster for the first time. Take a step back and try to get a feel for how it moves. What are its tells? How often does it like to swing its tail around? The more you learn about your target, the easier it’ll be to bring it down. - Depending on the situation, it might be a better idea to get rid of the smaller creatures in an area before focusing on your main target. They don’t do much damage, comparably, but they can really mess you up at the worst times. - Keep an eye on your target’s movements. If they get mad, they’ll move faster and hit a lot harder. If they’re close to death, they’ll start to limp. - Try to capture big monsters alive if you can (use a trap and tranq bombs/shot when it’s injured to the point of limping). What you miss out on in carves will be made up for in spades when it’s time to collect your quest rewards. - Ever spot that hot air balloon floating around in the background of some areas? If you wave at it (in the menu, scroll down to Gestures and then Wave) you’ll be able to see the large monster’s location on your map for a brief period of time. - When crafting armor in the beginning, defense is important. But later on you'll want to pay more attention to skills as the abilities some armor sets will give you (being able to track large monsters without the need for a paintball, faster eating, etc). These skills could make all the difference in higher ranked quests.
- Be mindful of the felyne companion you bring with you when playing solo. For example, if you’re going melee, it’s probably best to avoid one that likes to use bombs. Because they will send you flying with an explosion in the middle of a fight. - Most wyverns (and other large monsters) come in a few color variations (i.e. the Blue Kut Ku or the Purple Hermitaur). They bear some resemblances to their normal counterparts, but they’re also a lot tougher and have one or two new moves in their arsenal. Don’t underestimate them. - When you’re fighting something big for the first time, raw damage is usually better than elemental damage - unless you already know what it’s supposed to be weak against. - If you want to know what elements a given monster is weak against, take a look at a piece from its armor set (it should be visible in the weapon/armorcraft booth once you’ve collected materials from that monster). If the armor is weak against something like fire, there’s a very good chance the monster it’s made out of is weak to fire, too. - Make sure you swing by the Felyne Kitchen in the back of your house before going on big hunts. The right combination of foods can give you helpful boosts like health or damage increases.