 PocketGamer.fun
  U.GG
U.GG  Icy Veins
  Arcade Cloud
  EV.IO
EV.IO Here’s How to Set a Custom Face for Your New Apple Watch
So you’ve just unboxed your very own Apple Watch and have been playing around with some of its features. Neat, huh?
Well if you’re like me, you probably want to get to customizing its face before you really start to show it off to people. And if you’re also like me, chances are you've completely ignored the little info pamphlet that came with everything. It’s okay, unboxing a new piece of Apple tech usually leads to discarded instructions. That’s just the nature of the beast.
And that’s exactly why we’ve put together this short guide on how to go about customizing the face of your Apple Watch.
Getting Started
- When you’re ready to start customizing, make sure you’re looking at the clock face and then give the screen a firm tap and hold.
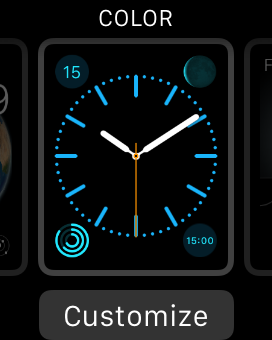
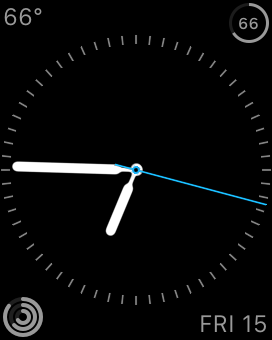
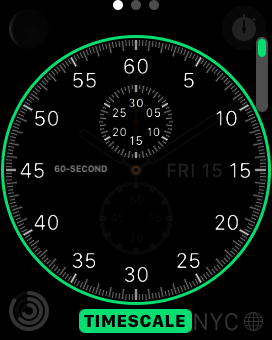
- The view will pull back and you’ll be able to swipe left and right between the different face presets - Utility, Modular, Simple, Motion, Astronomy, Color, Solar, Chronograph, Mickey, and X-Large.
- You can pick between any of the preset faces, or if you’d like to make some small adjustments you can also tap the Customize button that appears beneath the selection.
- Or, if you’d rather leave the presets the way they are but still want something custom you can scroll all the way to the right and select New, which will let you start making a new watch face Utility, Modular, Simple, Motion, Color, Chronograph, Mickey, or X-Large as a base. Sorry, no Solar or Astronomy options.
Fine Tuning
- Now that you’ve got a basic face selected, it’s time to start tweaking it. Not all faces have the same options, so don’t worry if you can’t immediately find a particular item to display.
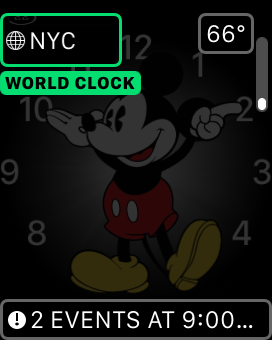
- The first option is always the most noticeable one. Whether it’s the color of the display for X-Large or the background image in Motion, it’s always going to be the thing you notice first. Well, except for Mickey. You can’t make big adjustments with Mickey.
- Use the scroll wheel to switch between the different options that are available, and simply stop spinning once you find what you like.
- You can swipe to the right to move on to other editing options that vary based on the face you’re using. Things like the color of the second hand in Simple, how (or even if) to display the date in Mickey, and so on. Again, not all faces will have all the options.
- The third and final page, if there is one, usually includes the smaller elements such as date, temperature, battery life, and so on. Simply tap on the info box you want a specific piece of info to appear, then use the scroll wheel to select it.
- You may also remove unwanted elements by selecting the correct info box and scrolling up until it turns blank or shows “Off.” Also note that certain elements are only available to add in certain boxes. In other words, you can’t put sunup and sundown info in the middle of the Simple template.