Our Network
Arrow Down
PocketGamer.com
AppSpy.com
148Apps.com
PocketGamer.fr
PocketGamer.biz
PCGamesInsider.biz
The Sims News
PocketGamer.fun
BlockchainGamer.biz
PG Connects
BigIndiePitch.com
MobileGamesAwards.com
U.GG
Icy Veins
The Sims Resource
Fantasy Football Scout
GameKnot
Addicting Games
Arcade Cloud
EV.IO
Menu
148 Apps
Facebook
X
RSS
Search
Search
Custom
RSS
News
You'll be Able to Make Your Own BADLAND Levels Soon
By
Rob Rich
Review
SwipeKeys Review
By
Jennifer Allen
News
Here’s How to Set a Custom Face for Your New Apple Watch
By
Rob Rich
News
Just in Time for Halloween - RedBubble will be Carrying 'Skins'
By
Rob Rich
News
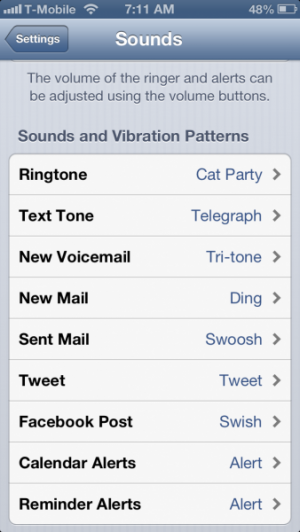
How To: Create A Custom iPhone Ring Tone Without iTunes
By
Rob Rich
News
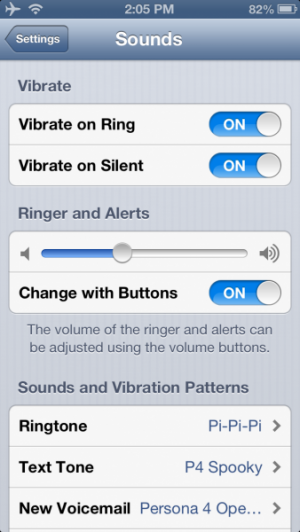
How To: Set Custom Vibrations for Individual Contacts on iPhone
By
Carter Dotson
Review
Wannabat Plus Review
By
Rob Rich
News
Get Ready to Start Bumpin’ Uglies
By
Rob Rich
Review
Roblade Review
By
Rob Rich
Review
Wave Crasher Review
By
Rob Rich
Review
Call of Duty ELITE Review
By
Jason Wadsworth
Review
Mamba Nation Battle Review
By
Rob Rich
Review
Ionocraft Racing Review
By
Rob Rich
Review
Apollo News for iPad Review
By
Ben Harvell
Review
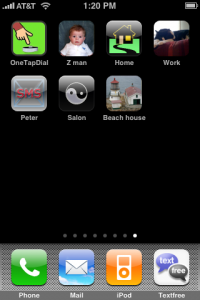
One Tap Dial
By
Donna Harrison
 News
News
 Review
 News
News
 News
News
 News
News
 News
News
 PocketGamer.fun
  U.GG
U.GG  Icy Veins
  Arcade Cloud
  EV.IO
EV.IO